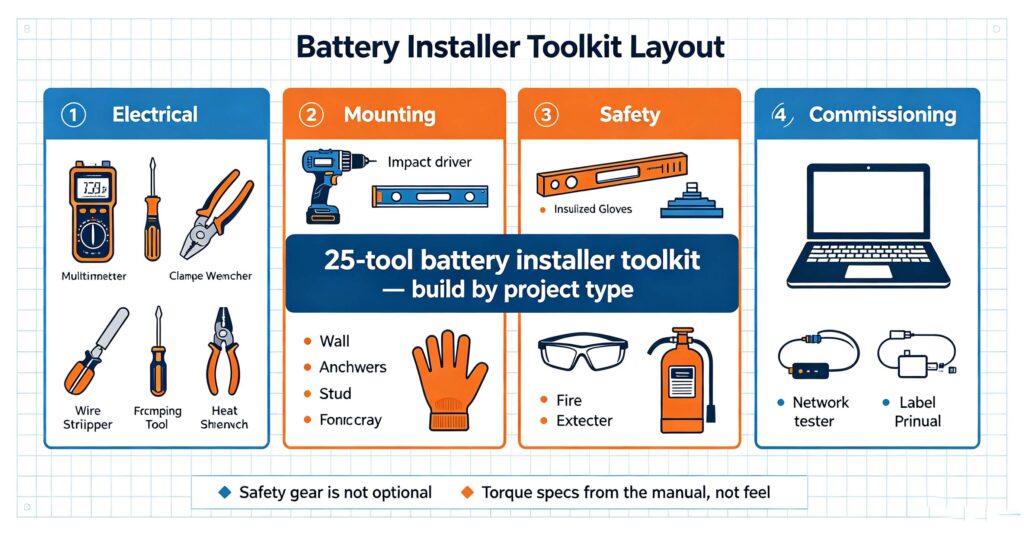
Battery installer toolkit refers to the set of electrical, mounting, safety and commissioning tools an installer carries for energy storage projects — and it is smaller than most people expect, but every item earns its place. The four categories are: electrical tools (multimeter, clamp meter, torque wrench, wire stripper, crimping tool), mounting tools (drill, impact driver, level, stud finder, cable management), safety equipment (insulated gloves, safety glasses, voltage detector, fire extinguisher), and commissioning tools (network cable/adapters, software laptop, label printer). Two items deserve special attention in battery work: a torque wrench, because battery terminal torque is specified by the manufacturer and getting it wrong is a common cause of connection failures and fire risk, and a calibrated multimeter/clamp meter for verifying voltage and current before and after energising. The exact list scales with project type — a residential wall-mount install needs fewer tools than a rack or cabinet system — but the core toolkit stays the same, and it should be verified against the manufacturer’s installation manual before every project.
Installers who arrive prepared finish faster, safer and with fewer callbacks. This guide breaks down the battery installer toolkit into four categories, explains what each tool is actually for, and gives a checklist to build your own kit. For the site survey that happens before the tools come out, see #110 battery installation site assessment.
The four categories of a battery installer toolkit
Every storage project touches the same four work areas, and each has a core set of tools. The table below maps them.
| Category | Core tools | What they prevent / enable |
|---|---|---|
| Electrical | Multimeter, clamp meter, torque wrench, wire stripper, crimping tool, heat shrink | Wrong connections, loose terminals, undersized wires |
| Mounting | Drill, impact driver, level, stud finder, anchors, cable tray | Falling batteries, misaligned racks, damaged cables |
| Safety | Insulated gloves, safety glasses, voltage detector, fire extinguisher | Shock, arc flash, thermal events during work |
| Commissioning | Network adapters, software laptop, label printer, manual | Communication setup, firmware, documentation |
The mix shifts with system size: a wall-mounted home battery is mostly mounting plus a torque wrench and multimeter; a rack or cabinet system adds busbar tools, heavier lifting gear and more commissioning equipment. For the site assessment that defines what the project will need, see #110 site assessment again.
Electrical tools: the ones that prevent callbacks
The electrical tools in a battery installer toolkit are where quality shows up. Three deserve a closer look.
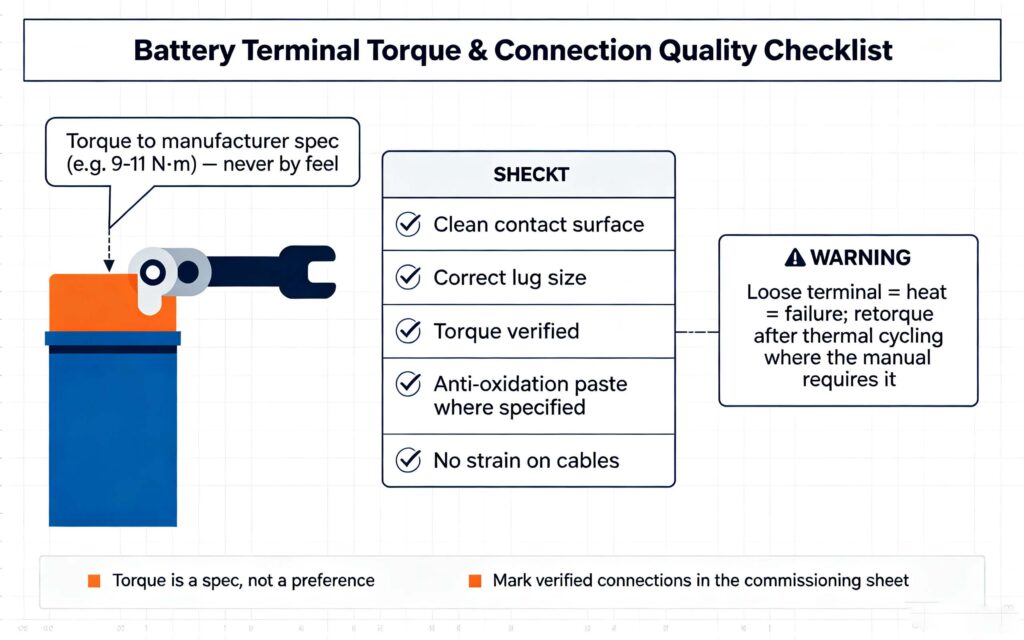
Torque wrench: battery terminals and busbars have a torque spec from the manufacturer. Undertorqued connections heat up under load; overtorqued ones damage the terminal. A torque wrench with the right range (typically 5-50 N·m for terminal work) and the correct bit/socket is non-negotiable — “by feel” is not a spec. For larger rack systems, check whether the manufacturer requires retorquing after thermal cycling.
Multimeter and clamp meter: a good multimeter verifies voltage before work (safety) and after (commissioning); a clamp meter measures current without breaking the circuit, which matters for verifying that strings are balanced and loads are within ratings. Test leads rated for the system voltage are part of the kit.
Crimping and stripping: battery cable terminations must be crimped with the correct die, not soldered or squeezed with pliers. A proper crimping tool with matched lugs and heat shrink for strain relief prevents the classic failure — a terminal that feels tight and fails a year later.
These are the items where buying cheap costs more: a bad crimp or a loose terminal shows up as heat, reduced life, or a field failure that is far more expensive than the tool would have been.
Safety equipment: not optional on battery sites
Battery work involves DC voltages, high currents and stored energy. The safety layer of the toolkit is the one installers should never compromise.
Insulated gloves and tools rated for the system voltage, safety glasses against arc flash and debris, and a voltage detector to confirm zero energy before touching terminals. A fire extinguisher appropriate for lithium fires (not water-only units) should be within reach, and installers should know the site’s emergency plan. For the safety rules behind battery installation, see #87 battery thermal runaway and fire suppression.
PPE is a line item in the budget, not a suggestion: a single incident costs more than a lifetime of gloves. Installers who skip PPE to save time are also the ones who skip torque specs — and both show up in the same place, on the failure report.
Commissioning tools: where the install becomes a system
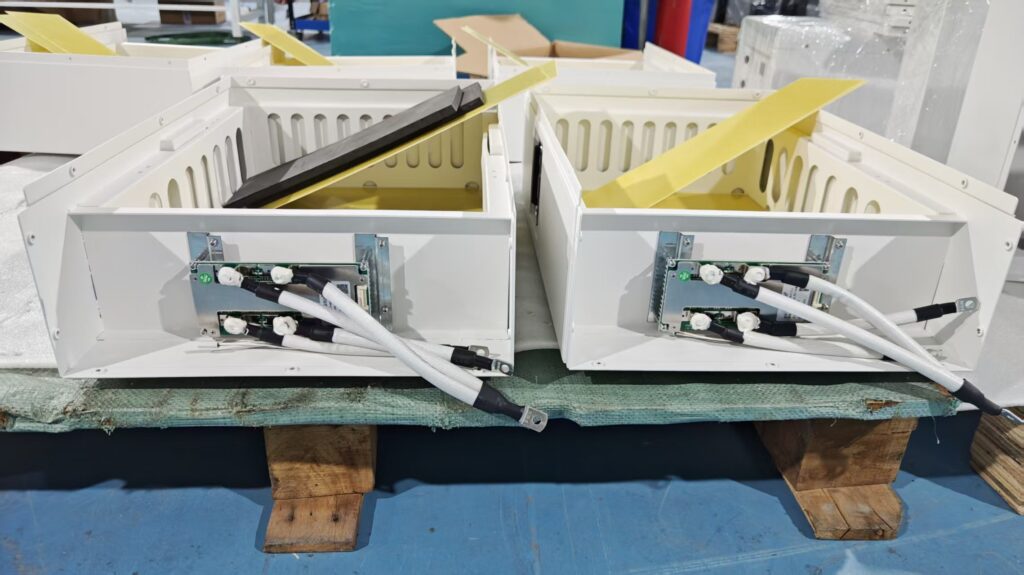
Modern storage systems are commissioned over a laptop or app: network setup, BMS communication, inverter pairing, firmware updates and settings. The commissioning part of the toolkit is usually: a laptop with the manufacturer’s software, the right network cable or Wi-Fi adapter, the manuals and login details, and a label printer for clear circuit and battery labelling.
For installers, the discipline that prevents callbacks is documentation: photograph the wiring before closing panels, record torque values, log firmware versions, and label every breaker and battery. The site handover and grid-connection steps are covered in #111 BESS commissioning and grid connection.
Building your kit: priorities by project type
Start with the shared core, then add per project type.
- Core (all projects): multimeter, clamp meter, torque wrench, wire stripper, crimping tool, drill, level, insulated gloves, safety glasses, voltage detector, fire extinguisher, label printer.
- Wall-mount home systems: stud finder, wall anchors, cable management, manufacturer-specific software.
- Rack/cabinet systems: busbar tools, heavier lifting gear, network tester, more commissioning adapters.
- C&I and container projects: specialized torque tools, grounding equipment, site-specific PPE, test instruments for larger currents.
Verify the list against each manufacturer’s installation manual — some systems require specific torque specs, connectors or commissioning steps that change the kit. For the installation process these tools support, see #13 home battery installation.
Q. What tools do I need to install a home battery?
The core kit is a multimeter, clamp meter, torque wrench, wire stripper, crimping tool, drill, level, insulated gloves, safety glasses, voltage detector and a fire extinguisher, plus the manufacturer’s software for commissioning. Wall-mount systems add a stud finder and wall anchors. The exact list should be checked against the manufacturer’s installation manual for torque specs and connectors.
Q. Why is a torque wrench required for battery installation?
Battery terminals and busbars have a torque specification from the manufacturer. Undertorqued connections heat up under load and can fail; overtorqued ones damage the terminal. Getting the torque right prevents connection failures and thermal risk, which is why torque is a spec, not a preference, and why “by feel” is not acceptable on battery work.
Q. What safety equipment should battery installers carry?
Insulated gloves and tools rated for the system voltage, safety glasses, a voltage detector to confirm zero energy before touching terminals, and a fire extinguisher appropriate for lithium fires. Installers should also know the site’s emergency plan and use the correct PPE even for short jobs, because battery incidents are fast and unforgiving.
Q. Do I need a clamp meter or a multimeter?
Both earn their place. A multimeter verifies voltage before work and after energising. A clamp meter measures current without breaking the circuit, which is how you verify that battery strings are balanced and loads are within ratings. For commissioning and troubleshooting, having both is standard on battery sites.
Q. How much does a battery installer toolkit cost?
A functional core kit — decent multimeter, clamp meter, torque wrench, crimping tool, drill, PPE and voltage detector — typically costs a few hundred to a couple of thousand dollars depending on tool quality and brand. Buying cheap on crimping and torque tools is false economy because connection failures are the most common and most expensive callbacks.
Next step: build your toolkit against the manual, not the habit
Battery installer toolkit quality shows up in callbacks: torque specs, correct crimps, proper PPE and documented commissioning separate professional installs from problem jobs. Build the core kit, then check each project’s manual for the tools it actually requires.
- Survey the site first with #110
- Finish with commissioning in #111
- Read the safety rules in #87
- Ask leekooenergy for the installation documentation that defines your toolkit: manual torque specs, connector requirements, commissioning software and network setup, plus site-assessment checklists — so your toolkit matches the system, not a generic list